
News News
How to Inspect Cricket Bat for Quality and Durability How to Inspect Cricket Bat for Quality and Durability
Finding a cricket bat online can feel daunting when you cannot see or touch the equipment yourself. Amateur players from India, Australia, England, and beyond all want confidence that their purchase will perform well and last through tough matches. This guide empowers you to inspect your bat like a pro by focusing on a clean, well-lit workspace, checking for defects, and understanding critical details such as grain and balance before finalising your order.
Table of Contents
- Step 1: Prepare Your Workspace And Tools
- Step 2: Check The Bat’s Surface For Visible Defects
- Step 3: Examine The Grain Structure And Alignment
- Step 4: Assess The Handle And Joint Integrity
- Step 5: Test Balance, Pickup, And Rebound
Quick Overview
| Key Insight | Explanation |
|---|---|
| 1. Prepare a suitable workspace | A clean, well-lit area with a stable surface is crucial for inspecting your cricket bat effectively. |
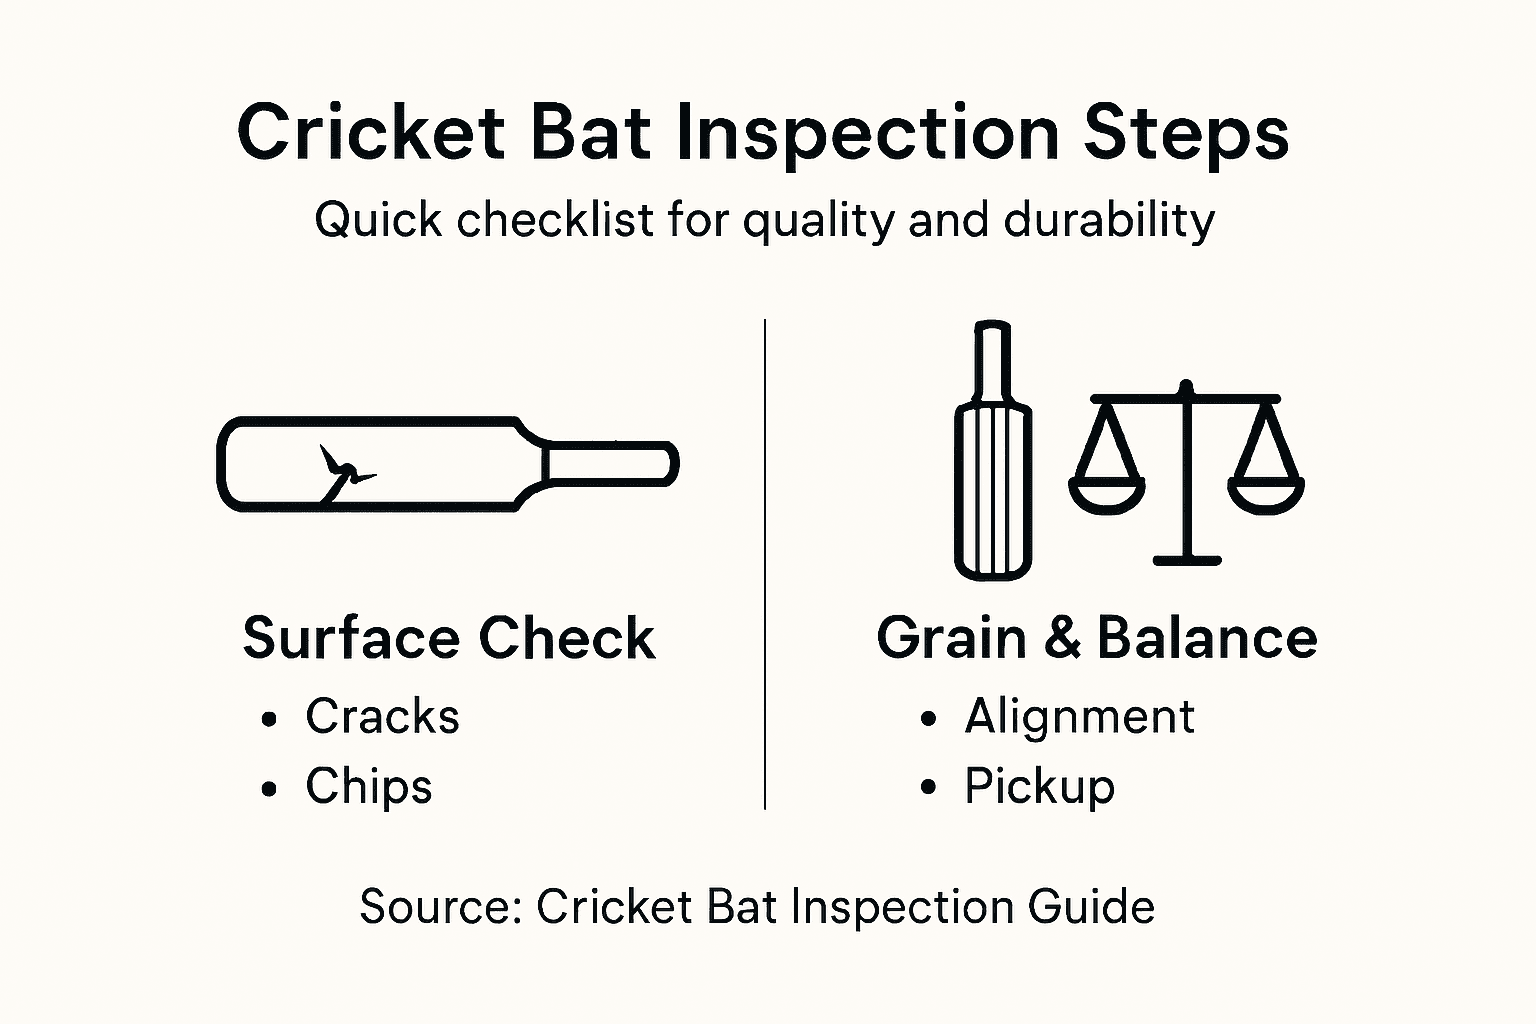
| 2. Perform a thorough visual check | Inspect the bat for chips, cracks, and surface irregularities; significant issues need prompt repair. |
| 3. Examine the grain structure | High-quality bats have straight, consistent grains; this affects performance and longevity. |
| 4. Assess handle and joint integrity | Ensure the handle is secure and aligned; any cracks or loose bindings can compromise performance. |
| 5. Test balance and rebound | Evaluate how the bat feels in your grip; a well-balanced bat enhances control and energy transfer during play. |
Step 1: Prepare your workspace and tools
Inspecting a cricket bat requires a strategic setup and the right collection of tools. You’ll want to create an optimal environment that allows for detailed, careful examination and protects your valuable sporting equipment from potential damage.
Choose a clean, well-lit workspace with a flat, stable surface. Natural daylight works best, but a bright indoor lamp can also provide the necessary illumination. Ideally, select a table or workbench where you can spread out your tools and have enough room to rotate and inspect the cricket bat thoroughly. Cricket bat maintenance guidelines recommend creating a dedicated area for this process.
Gather these essential tools before beginning your inspection:
- Soft, lint-free cloths for cleaning
- Raw linseed oil for conditioning
- Cricket bat mallet or old cricket ball for testing
- Bat tape or protective scuff sheets
- Bright lamp or positioning near natural light
- Clean, dry workspace with ample room
A well-prepared workspace is half the battle in proper cricket bat maintenance.
Position your bat on a clean surface, ensuring it’s supported evenly and won’t roll or fall. Wear clean, dry gloves to prevent transferring oils or dirt onto the bat’s surface during your detailed inspection.
Practical Tip: Keep a notepad nearby to document any observations or potential issues you discover during your bat inspection.
Step 2: Check the bat’s surface for visible defects
Carefully examining your cricket bat’s surface is crucial for identifying potential damage that could compromise its performance and longevity. Your goal is to spot any structural issues before they become significant problems that might render the bat unusable.
Begin by conducting a thorough visual inspection under good lighting. Cricket bat repair guidelines recommend paying close attention to several key areas:
- Edges: Check for chips, cracks, or uneven wear
- Toe area: Inspect for potential splitting or moisture damage
- Blade face: Look for surface irregularities or compression marks
- Splice: Examine the connection point for any structural weaknesses
Minor surface imperfections are normal, but significant damage requires immediate attention.
Run your fingers gently across the bat’s surface to detect subtle irregularities that might not be immediately visible. Small surface cracks are typically normal from regular use, but deep splits or lateral cracks near critical areas like the splice could indicate more serious structural damage.

Categorise the defects you discover:
The following table compares common cricket bat defects based on their impact and recommended action:
| Defect Type | Likely Cause | Impact on Performance | Recommended Action |
|---|---|---|---|
| Superficial marks | Natural wear | None | Continue using, monitor |
| Minor surface cracks | Repeated usage | Slightly reduced durability | Monitor, photograph |
| Structural damage | Hard impacts or moisture | Major performance decrease | Seek professional repair |
- Superficial marks that don’t affect performance
- Minor surface cracks requiring careful monitoring
- Significant structural damage needing professional repair
Practical Tip: Always photograph any suspicious areas for future reference or consultation with a professional cricket equipment specialist.
Step 3: Examine the grain structure and alignment
Understanding the grain structure of your cricket bat is essential for assessing its potential performance and durability. A high-quality bat will have straight, consistent grain lines that run parallel to each other, indicating a well-crafted piece of willow with optimal structural integrity.
Begin by positioning the bat under bright, natural light to reveal the intricate grain patterns. Look for these key characteristics:
- Straight grain lines: Uniform lines running from the handle to the toe
- Consistent width: Even spacing between grain lines
- Tight grain structure: Minimal gaps between wood fibres
- No irregular breaks or sudden shifts in grain direction
The quality of grain structure directly influences a cricket bat’s performance and resilience.
Examine the grain density carefully. High-quality cricket bats typically feature 6-12 grains per inch, with tighter grains generally indicating a more robust and responsive bat. Pay special attention to areas near the edges and middle, where grain consistency is most critical for impact resistance.
Classify the grain structure into these categories:
Here is a summary of cricket bat grain categories and what they mean for play:
| Grain Category | Grain Pattern Features | Bat Performance | Durability Expectation |
|---|---|---|---|
| Premium | Straight, tight, consistent | Excellent power, feel | Long lasting, robust |
| Good | Mostly uniform, minor flaws | Good performance, control | Reliable, needs monitoring |
| Substandard | Widely spaced, irregular | Less responsive, weak | Prone to early damage |
- Premium: Straight, tight, uniform grains
- Good: Mostly consistent with minor irregularities
- Substandard: Widely spaced or inconsistent grain patterns
Practical Tip: Use a magnifying glass to get a more detailed view of the grain structure and identify subtle variations.
Step 4: Assess the handle and joint integrity
The handle and joint are critical components of a cricket bat, directly influencing its performance, comfort, and overall durability. A well-constructed handle ensures optimal power transfer and reduces the risk of structural failure during intense gameplay.
Examine the handle connection carefully, paying close attention to these key areas:
- Splice area: Check for any visible separation or weakness
- Handle alignment: Ensure perfectly straight positioning
- Binding quality: Look for tight, even wrapping around the joint
- Wood compression: Inspect for uniform density at connection point
A compromised handle can significantly reduce your bat’s performance and safety.
Perform a visual and tactile inspection of the handle, looking for these potential issues:
- Hairline cracks near the splice
- Uneven binding or loose wrapping
- Signs of wood separation
- Irregular handle angle
Gently apply slight pressure at the handle-bat junction to test structural integrity. A high-quality bat should feel solid and show no signs of movement or flexing at the joint. Listen for any unusual sounds that might indicate internal damage or weakness.
Practical Tip: When in doubt about handle integrity, consult a professional cricket equipment specialist for a detailed assessment.
Step 5: Test balance, pickup, and rebound
Understanding a cricket bat’s balance and pick-up is crucial for selecting equipment that complements your unique batting style. These characteristics directly influence your ability to play powerful, controlled shots with minimal fatigue.
Bat balance techniques require careful assessment of weight distribution and manoeuvrability. Begin by evaluating these key aspects:
- Overall weight sensation: How light or heavy the bat feels
- Weight distribution: Balance between handle and blade
- Swing momentum: Smoothness of bat movement
- Comfort in batting stance: Natural feel during grip
A perfectly balanced bat feels like an extension of your body, not a separate tool.
Perform a comprehensive balance test by following these steps:
- Hold the bat in your standard batting grip
- Gently swing the bat in different arcs
- Assess how naturally it moves
- Check for any resistance or awkwardness
Pay special attention to rebound characteristics, which indicate the bat’s responsiveness. A high-quality bat should provide a crisp, immediate return when simulating ball contact, suggesting excellent energy transfer and materials.
Practical Tip: Try multiple bats to develop a nuanced understanding of how subtle differences in balance can dramatically affect your batting performance.
Ensure Your Cricket Bat Matches Your Inspection Standards
Inspecting your cricket bat for quality and durability is essential to maintain top performance and avoid unexpected damage during play. Whether you are checking for grain structure integrity, handle stability, or surface defects, having the right bat can make all the difference in delivering consistent power and feel. At New Balance Cricket Bats – Cricket Bats Com, we offer expertly crafted bats designed to meet the highest standards you look for when inspecting edge, splice, or grain quality.

Upgrade your game now by selecting from our premium selection of cricket bats designed for durability and balance. Don’t settle for guesswork when it comes to the most critical piece of your equipment. Visit cricketbats.com to explore all options or browse our Home page – Cricket Bats Com for more brands and exclusive deals. Take the next step towards owning a bat you can trust during every innings.
Frequently Asked Questions
How can I prepare my workspace for inspecting a cricket bat?
To prepare your workspace, choose a clean, well-lit area with a flat surface. Ensure you have enough room to lay out your tools and properly examine the bat’s condition without any distractions.
What tools do I need to inspect a cricket bat for quality and durability?
Essential tools for inspecting a cricket bat include soft lint-free cloths, raw linseed oil for conditioning, a cricket bat mallet, protective tape, and good lighting. Gather these items before you start to ensure a thorough examination.
What should I look for on the surface of the cricket bat during inspection?
During the inspection, examine the bat’s edges, toe area, blade face, and splice for any cracks, chips, or irregular wear. Document any visible defects, and address significant damage promptly to preserve the bat’s performance.
How do I assess the cricket bat’s grain structure?
To assess the grain structure, inspect the bat under bright light for straight, tight, and consistent grain lines. A higher density of closely spaced grains indicates better performance and durability, so check for at least 6–12 grains per inch.
How can I test the balance and pickup of my cricket bat?
To test the balance and pickup, hold the bat in your typical grip and swing it in various arcs. Evaluate how naturally it moves; a well-balanced bat should feel lightweight and effortless to swing during play.
What signs indicate that I need to consult a professional about my cricket bat?
If you observe significant structural damage, such as deep cracks, poor handle integrity, or irregular grain patterns, it’s best to consult a professional. Seeking expert advice can help prevent further issues and extend your bat’s lifespan.
Recommended
- Cricket Bat Warranty Explained: Protecting Your Investment – Cricket Bats Com
- Cricket Bat Certifications: What Every Player Needs – Cricket Bats Com
- The Essentials of Making a Cricket Bat With Artistry – Cricket Bats Com
- 7-Step Cricket Bat Maintenance Checklist for Lasting Performance – Cricket Bats Com
Finding a cricket bat online can feel daunting when you cannot see or touch the equipment yourself. Amateur players from India, Australia, England, and beyond all want confidence that their purchase will perform well and last through tough matches. This guide empowers you to inspect your bat like a pro by focusing on a clean, well-lit workspace, checking for defects, and understanding critical details such as grain and balance before finalising your order.
Table of Contents
- Step 1: Prepare Your Workspace And Tools
- Step 2: Check The Bat’s Surface For Visible Defects
- Step 3: Examine The Grain Structure And Alignment
- Step 4: Assess The Handle And Joint Integrity
- Step 5: Test Balance, Pickup, And Rebound
Quick Overview
| Key Insight | Explanation |
|---|---|
| 1. Prepare a suitable workspace | A clean, well-lit area with a stable surface is crucial for inspecting your cricket bat effectively. |
| 2. Perform a thorough visual check | Inspect the bat for chips, cracks, and surface irregularities; significant issues need prompt repair. |
| 3. Examine the grain structure | High-quality bats have straight, consistent grains; this affects performance and longevity. |
| 4. Assess handle and joint integrity | Ensure the handle is secure and aligned; any cracks or loose bindings can compromise performance. |
| 5. Test balance and rebound | Evaluate how the bat feels in your grip; a well-balanced bat enhances control and energy transfer during play. |
Step 1: Prepare your workspace and tools
Inspecting a cricket bat requires a strategic setup and the right collection of tools. You’ll want to create an optimal environment that allows for detailed, careful examination and protects your valuable sporting equipment from potential damage.
Choose a clean, well-lit workspace with a flat, stable surface. Natural daylight works best, but a bright indoor lamp can also provide the necessary illumination. Ideally, select a table or workbench where you can spread out your tools and have enough room to rotate and inspect the cricket bat thoroughly. Cricket bat maintenance guidelines recommend creating a dedicated area for this process.
Gather these essential tools before beginning your inspection:
- Soft, lint-free cloths for cleaning
- Raw linseed oil for conditioning
- Cricket bat mallet or old cricket ball for testing
- Bat tape or protective scuff sheets
- Bright lamp or positioning near natural light
- Clean, dry workspace with ample room
A well-prepared workspace is half the battle in proper cricket bat maintenance.
Position your bat on a clean surface, ensuring it’s supported evenly and won’t roll or fall. Wear clean, dry gloves to prevent transferring oils or dirt onto the bat’s surface during your detailed inspection.
Practical Tip: Keep a notepad nearby to document any observations or potential issues you discover during your bat inspection.
Step 2: Check the bat’s surface for visible defects
Carefully examining your cricket bat’s surface is crucial for identifying potential damage that could compromise its performance and longevity. Your goal is to spot any structural issues before they become significant problems that might render the bat unusable.
Begin by conducting a thorough visual inspection under good lighting. Cricket bat repair guidelines recommend paying close attention to several key areas:
- Edges: Check for chips, cracks, or uneven wear
- Toe area: Inspect for potential splitting or moisture damage
- Blade face: Look for surface irregularities or compression marks
- Splice: Examine the connection point for any structural weaknesses
Minor surface imperfections are normal, but significant damage requires immediate attention.
Run your fingers gently across the bat’s surface to detect subtle irregularities that might not be immediately visible. Small surface cracks are typically normal from regular use, but deep splits or lateral cracks near critical areas like the splice could indicate more serious structural damage.
Categorise the defects you discover:
The following table compares common cricket bat defects based on their impact and recommended action:
| Defect Type | Likely Cause | Impact on Performance | Recommended Action |
|---|---|---|---|
| Superficial marks | Natural wear | None | Continue using, monitor |
| Minor surface cracks | Repeated usage | Slightly reduced durability | Monitor, photograph |
| Structural damage | Hard impacts or moisture | Major performance decrease | Seek professional repair |
- Superficial marks that don’t affect performance
- Minor surface cracks requiring careful monitoring
- Significant structural damage needing professional repair
Practical Tip: Always photograph any suspicious areas for future reference or consultation with a professional cricket equipment specialist.
Step 3: Examine the grain structure and alignment
Understanding the grain structure of your cricket bat is essential for assessing its potential performance and durability. A high-quality bat will have straight, consistent grain lines that run parallel to each other, indicating a well-crafted piece of willow with optimal structural integrity.
Begin by positioning the bat under bright, natural light to reveal the intricate grain patterns. Look for these key characteristics:
- Straight grain lines: Uniform lines running from the handle to the toe
- Consistent width: Even spacing between grain lines
- Tight grain structure: Minimal gaps between wood fibres
- No irregular breaks or sudden shifts in grain direction
The quality of grain structure directly influences a cricket bat’s performance and resilience.
Examine the grain density carefully. High-quality cricket bats typically feature 6-12 grains per inch, with tighter grains generally indicating a more robust and responsive bat. Pay special attention to areas near the edges and middle, where grain consistency is most critical for impact resistance.
Classify the grain structure into these categories:
Here is a summary of cricket bat grain categories and what they mean for play:
| Grain Category | Grain Pattern Features | Bat Performance | Durability Expectation |
|---|---|---|---|
| Premium | Straight, tight, consistent | Excellent power, feel | Long lasting, robust |
| Good | Mostly uniform, minor flaws | Good performance, control | Reliable, needs monitoring |
| Substandard | Widely spaced, irregular | Less responsive, weak | Prone to early damage |
- Premium: Straight, tight, uniform grains
- Good: Mostly consistent with minor irregularities
- Substandard: Widely spaced or inconsistent grain patterns
Practical Tip: Use a magnifying glass to get a more detailed view of the grain structure and identify subtle variations.
Step 4: Assess the handle and joint integrity
The handle and joint are critical components of a cricket bat, directly influencing its performance, comfort, and overall durability. A well-constructed handle ensures optimal power transfer and reduces the risk of structural failure during intense gameplay.
Examine the handle connection carefully, paying close attention to these key areas:
- Splice area: Check for any visible separation or weakness
- Handle alignment: Ensure perfectly straight positioning
- Binding quality: Look for tight, even wrapping around the joint
- Wood compression: Inspect for uniform density at connection point
A compromised handle can significantly reduce your bat’s performance and safety.
Perform a visual and tactile inspection of the handle, looking for these potential issues:
- Hairline cracks near the splice
- Uneven binding or loose wrapping
- Signs of wood separation
- Irregular handle angle
Gently apply slight pressure at the handle-bat junction to test structural integrity. A high-quality bat should feel solid and show no signs of movement or flexing at the joint. Listen for any unusual sounds that might indicate internal damage or weakness.
Practical Tip: When in doubt about handle integrity, consult a professional cricket equipment specialist for a detailed assessment.
Step 5: Test balance, pickup, and rebound
Understanding a cricket bat’s balance and pick-up is crucial for selecting equipment that complements your unique batting style. These characteristics directly influence your ability to play powerful, controlled shots with minimal fatigue.
Bat balance techniques require careful assessment of weight distribution and manoeuvrability. Begin by evaluating these key aspects:
- Overall weight sensation: How light or heavy the bat feels
- Weight distribution: Balance between handle and blade
- Swing momentum: Smoothness of bat movement
- Comfort in batting stance: Natural feel during grip
A perfectly balanced bat feels like an extension of your body, not a separate tool.
Perform a comprehensive balance test by following these steps:
- Hold the bat in your standard batting grip
- Gently swing the bat in different arcs
- Assess how naturally it moves
- Check for any resistance or awkwardness
Pay special attention to rebound characteristics, which indicate the bat’s responsiveness. A high-quality bat should provide a crisp, immediate return when simulating ball contact, suggesting excellent energy transfer and materials.
Practical Tip: Try multiple bats to develop a nuanced understanding of how subtle differences in balance can dramatically affect your batting performance.
Ensure Your Cricket Bat Matches Your Inspection Standards
Inspecting your cricket bat for quality and durability is essential to maintain top performance and avoid unexpected damage during play. Whether you are checking for grain structure integrity, handle stability, or surface defects, having the right bat can make all the difference in delivering consistent power and feel. At New Balance Cricket Bats – Cricket Bats Com, we offer expertly crafted bats designed to meet the highest standards you look for when inspecting edge, splice, or grain quality.
Upgrade your game now by selecting from our premium selection of cricket bats designed for durability and balance. Don’t settle for guesswork when it comes to the most critical piece of your equipment. Visit cricketbats.com to explore all options or browse our Home page – Cricket Bats Com for more brands and exclusive deals. Take the next step towards owning a bat you can trust during every innings.
Frequently Asked Questions
How can I prepare my workspace for inspecting a cricket bat?
To prepare your workspace, choose a clean, well-lit area with a flat surface. Ensure you have enough room to lay out your tools and properly examine the bat’s condition without any distractions.
What tools do I need to inspect a cricket bat for quality and durability?
Essential tools for inspecting a cricket bat include soft lint-free cloths, raw linseed oil for conditioning, a cricket bat mallet, protective tape, and good lighting. Gather these items before you start to ensure a thorough examination.
What should I look for on the surface of the cricket bat during inspection?
During the inspection, examine the bat’s edges, toe area, blade face, and splice for any cracks, chips, or irregular wear. Document any visible defects, and address significant damage promptly to preserve the bat’s performance.
How do I assess the cricket bat’s grain structure?
To assess the grain structure, inspect the bat under bright light for straight, tight, and consistent grain lines. A higher density of closely spaced grains indicates better performance and durability, so check for at least 6–12 grains per inch.
How can I test the balance and pickup of my cricket bat?
To test the balance and pickup, hold the bat in your typical grip and swing it in various arcs. Evaluate how naturally it moves; a well-balanced bat should feel lightweight and effortless to swing during play.
What signs indicate that I need to consult a professional about my cricket bat?
If you observe significant structural damage, such as deep cracks, poor handle integrity, or irregular grain patterns, it’s best to consult a professional. Seeking expert advice can help prevent further issues and extend your bat’s lifespan.
Recommended
- Cricket Bat Warranty Explained: Protecting Your Investment – Cricket Bats Com
- Cricket Bat Certifications: What Every Player Needs – Cricket Bats Com
- The Essentials of Making a Cricket Bat With Artistry – Cricket Bats Com
- 7-Step Cricket Bat Maintenance Checklist for Lasting Performance – Cricket Bats Com