
News News
How to Prepare a New Cricket Bat: 20% Better Performance How to Prepare a New Cricket Bat: 20% Better Performance
You’ve just bought a new cricket bat and can’t wait to take it to the nets, but within a few practice sessions, you notice dents and cracks forming across the face. This frustration is common among amateur players who skip proper bat preparation. Preparing your bat through systematic knocking in and protective treatments can dramatically improve performance and extend its lifespan, preventing premature damage that ruins expensive equipment.
Table of Contents
- Prerequisites And Materials Needed
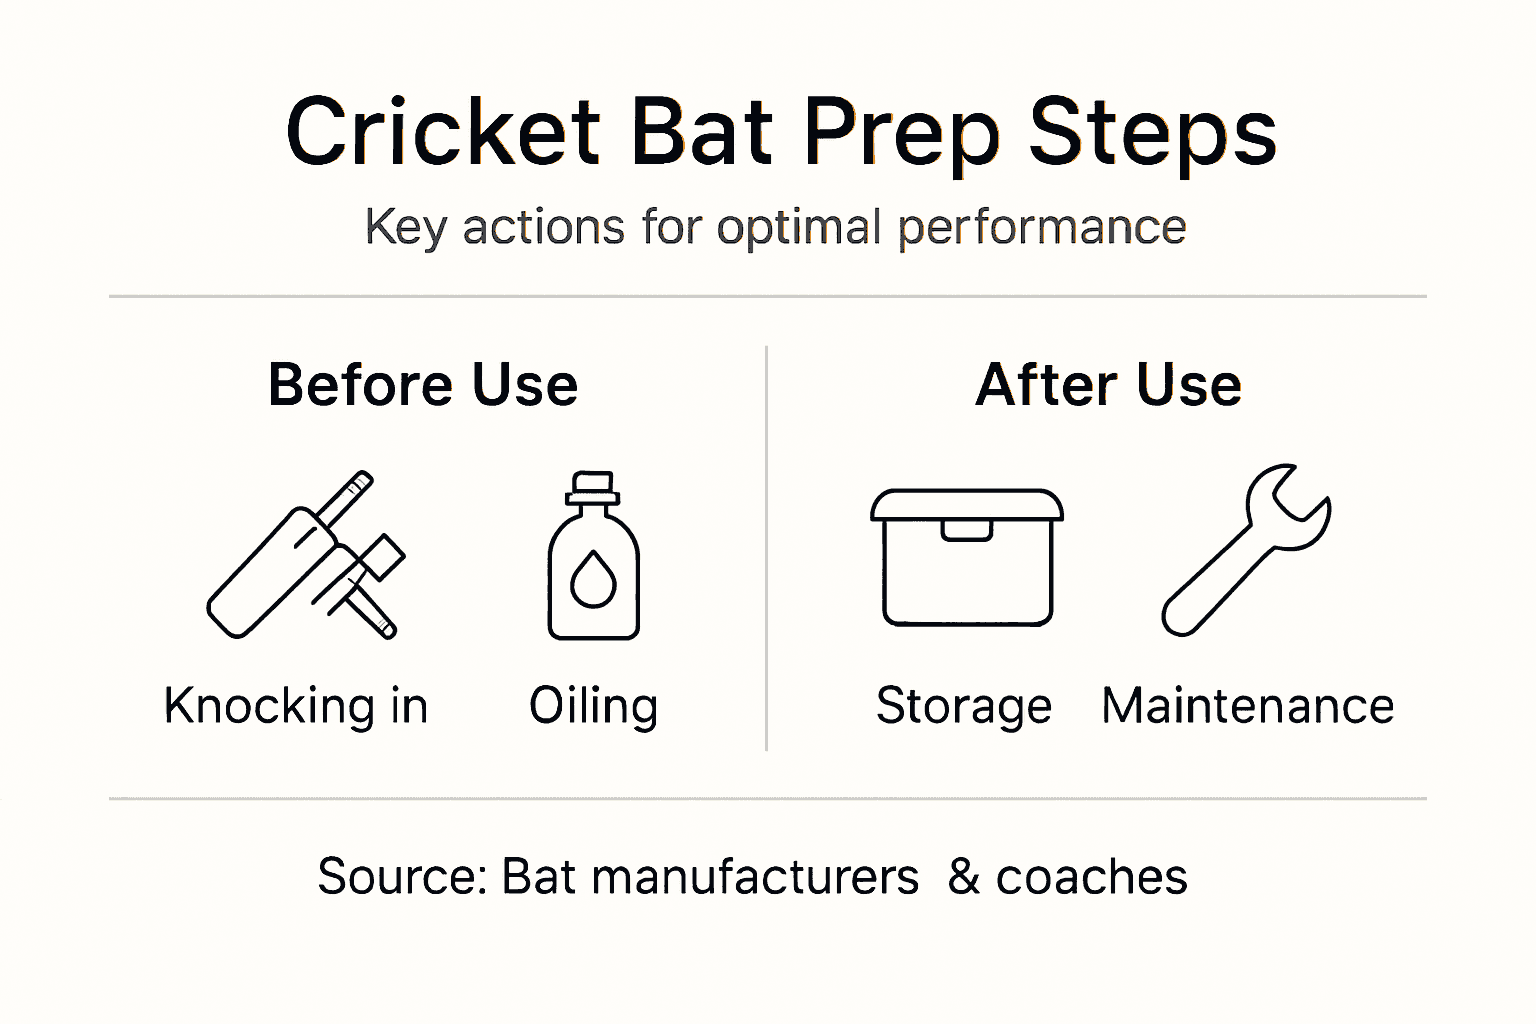
- Step-By-Step Knocking-In Process
- Protective Treatments After Knocking-In
- Common Mistakes And How To Avoid Them
- Alternative Bat Preparation Methods And Their Tradeoffs
- Expected Results And Outcomes
- Enhance Your Game With Quality Cricket Bats And Accessories
- Frequently Asked Questions
Key Takeaways
| Point | Details |
|---|---|
| Knocking in improves performance | Proper knocking in improves rebound speed by up to 20% while reducing damage risk. |
| Essential materials needed | Use an old leather cricket ball, raw linseed oil, and a knocking mallet for best results. |
| Time commitment required | Complete preparation requires 6 to 10 hours spread over several days for optimal hardening. |
| Avoid common mistakes | Never use tennis balls or skip oiling, as these errors increase damage risk significantly. |
| Results are measurable | Properly prepared bats show surface hardening, no cracks after use, and improved stroke power. |
Prerequisites and Materials Needed
Before you start preparing your new bat, gathering the right materials and creating proper conditions is essential. You’ll need an old leather cricket ball for knocking in, as using an old cricket ball for knocking in is preferred as its hardness is optimal to toughen the bat without causing damage. A knocking mallet works well, but many players successfully use the old ball directly.
Raw linseed oil is critical for protecting the willow after knocking in. Apply it with a soft cloth or sponge to ensure even coverage. Choose a dry environment with moderate humidity for all preparation work. Excess moisture during the process can penetrate the willow and cause warping or premature deterioration.
The time commitment is substantial. Plan for 6 to 10 hours of knocking in spread over several days, plus 48 hours for oiling and drying. Rushing this process leads to poor results and potentially damaged equipment.
| Material | Purpose | Selection Tips |
|---|---|---|
| Old leather cricket ball | Primary knocking tool | Choose one with firm surface, not brand new |
| Raw linseed oil | Moisture protection | Must be raw, not boiled variety |
| Soft cloth or sponge | Oil application | Natural fibers work best |
| Knocking mallet | Alternative tapping tool | Optional if using ball directly |
Understanding bat making essentials helps you appreciate why proper preparation matters. The willow used in cricket bats is relatively soft when new and requires conditioning to reach optimal playing hardness. This comprehensive knocking-in guide provides additional context on the science behind the process.
Pro Tip: Ensure the knocking-in area is free from moisture to prevent damage during preparation. A garage or indoor space with consistent temperature works perfectly.
Step-by-Step Knocking-in Process
The knocking-in process systematically hardens the willow fibers to withstand ball impact. Follow these ordered steps carefully:
-
Start with gentle taps. Hold the bat handle firmly and use the old cricket ball to tap the face with light pressure. Focus on the middle section first, working outward toward the edges. Spend the first hour using minimal force.
-
Gradually increase intensity. Over the next few sessions, slowly build up striking force. Never jump to full power immediately. The willow needs time to compress and harden gradually without splintering.
-
Target all impact zones evenly. The face receives most attention, but edges and toe need preparation too. Spend about 60% of time on the face, 30% on edges, and 10% on the toe. Rotate the bat regularly to ensure uniform hardening.
-
Maintain consistent sessions. Break the total 6 to 10 hours into sessions of 30 to 60 minutes. This prevents fatigue and allows the willow to settle between sessions. Space sessions at least 12 hours apart.
-
Monitor for progress signs. You’ll notice the sound changing from dull thuds to sharper cracks as the willow hardens. The surface should feel firmer and show slight compression marks but no cracks or splits.
-
Test readiness carefully. After completing the full knocking process, face a few soft throw deliveries at the nets. If the bat feels solid without vibration or visible damage, it’s ready for gradual match use.
The relationship between proper preparation and performance is measurable. Proper knocking-in improves the bat’s rebound speed by up to 20%, directly translating to more powerful shots with the same effort. This knocking impact study demonstrates the mechanical advantages of properly prepared willow.
Understanding the bat making process reveals why knocking in matters. Fresh willow contains air pockets and loose fibers that compress under impact. Without preparation, match balls cause uneven compression leading to cracks. If damage does occur, our cricket bat repair guide provides solutions.
Pro Tip: Maintain a consistent knocking rhythm to ensure even hardening of the willow. Think of it like tenderizing meat, you want uniform treatment across the entire surface.
Protective Treatments After Knocking-in
Once knocking in is complete, protective treatment preserves your work and maintains willow integrity. Raw linseed oil is the standard treatment, creating a moisture barrier that prevents cracking while allowing the wood to breathe.
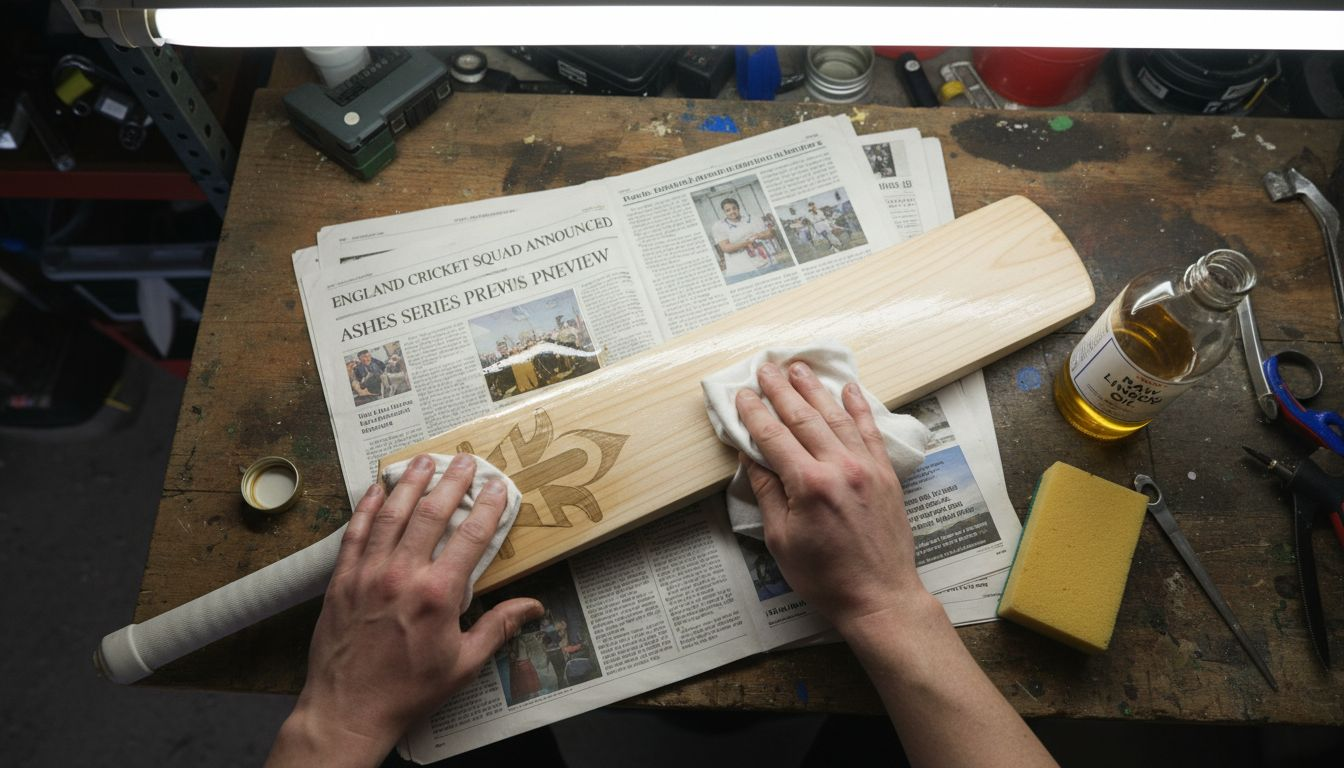
Apply the first coat of raw linseed oil using a soft cloth or sponge. Work the oil into the face, edges, and toe with circular motions. Use sparingly, a thin coat is better than drowning the wood. Avoid the splice area where handle meets blade, as oil can weaken the glue joint. Leave the bat standing upright for 24 hours in a dry space.
After the first coat dries completely, apply a second thin coat following the same method. Applying raw linseed oil twice, with 24 hours drying between, maintains moisture balance and prevents cracking. Allow another 24 hours of drying before use.
Treatment Do’s and Don’ts:
- Do use raw linseed oil specifically, not boiled or synthetic versions
- Do apply thin, even coats rather than thick layers
- Do allow full drying time between applications
- Do store the bat upright during drying
- Do keep the bat in moderate humidity after treatment
- Don’t apply oil to the splice or handle
- Don’t use the bat immediately after oiling
- Don’t over oil, which softens the playing surface
- Don’t store in damp or extremely dry conditions
- Don’t apply oil more than twice unless bat shows dryness
Regular maintenance extends your preparation work. Our bat maintenance checklist outlines ongoing care routines. This bat care and oiling guide offers detailed maintenance schedules.
Proper storage after treatment matters as much as the treatment itself. Keep your bat in a padded case in an environment between 10 and 25 degrees Celsius with moderate humidity. Extreme temperature swings or dampness undo your preparation efforts.
Common Mistakes and How to Avoid Them
Many amateur players unknowingly damage their bats through preparation mistakes. Recognizing and avoiding these errors saves money and frustration.
Skipping knocking in entirely is the most damaging error. Skipping knocking in increases damage risk by 50%, leading to face cracks within weeks. Some players assume pre knocked bats don’t need additional preparation, but even these benefit from a few hours of additional conditioning.
Using tennis balls for knocking in seems convenient but causes problems. Tennis balls are too light and bouncy to properly compress willow fibers. They create surface level hardness without deep conditioning, leaving the bat vulnerable to hard ball impacts. Always use an old leather cricket ball.
Applying excessive force too early is another frequent mistake. Aggressive early knocking splinters the surface and creates weak spots rather than strengthening the willow. Start gently and build intensity gradually over days.
Neglecting oil application leaves the willow exposed to moisture damage. Unprotected bats absorb humidity, swell, and crack as conditions change. Two proper oil applications create essential protection.
“Following proper preparation steps reduces cracking risks by 30% compared to unprepared bats, significantly extending equipment life and maintaining performance.”
Common Mistake Corrections:
- Mistake: Using the bat immediately after purchase. Fix: Complete the full 6 to 10 hour knocking process before match use.
- Mistake: Knocking in only the middle section. Fix: Treat edges and toe equally to prevent weak spots.
- Mistake: Oiling too heavily or too frequently. Fix: Use two thin coats 24 hours apart, then only reapply if the bat shows dryness.
- Mistake: Storing in damp sheds or hot car boots. Fix: Use a proper bat case in stable indoor conditions.
- Mistake: Facing fast bowling immediately after preparation. Fix: Gradually increase ball speed over several sessions.
Our bat maintenance checklist prevents these errors through systematic care routines. This knocking-in damage risk analysis quantifies the consequences of improper preparation.
Alternative Bat Preparation Methods and Their Tradeoffs
While manual knocking in is standard for amateur players, mechanical preparation machines offer alternatives worth considering. Professional bat retailers and some clubs own knocking machines that compress the willow using motorized rollers or automated striking mechanisms.
Mechanical machines complete the process in 2 to 3 hours compared to 6 to 10 hours manually. They provide consistent pressure across the entire face and eliminate the physical effort required. However, these machines are expensive, typically costing several hundred pounds, making them impractical for individual players.
Manual preparation offers better control over intensity and allows you to monitor the bat’s response continuously. You can adjust pressure based on willow hardness and stop immediately if problems appear. This tactile feedback is impossible with mechanical methods.
| Method | Time Required | Cost | Accessibility | Control Level | Damage Risk |
|---|---|---|---|---|---|
| Manual knocking | 6 to 10 hours | Minimal (just materials) | High (anyone can do it) | Excellent (full control) | Low with care |
| Mechanical machine | 2 to 3 hours | High (equipment cost) | Low (specialist access) | Moderate (preset programs) | Low with proper setup |
| Professional service | Varies | Moderate (service fee) | Moderate (shop dependent) | None (outsourced) | Very low |
For amateur players, manual preparation remains the practical choice. The time investment is manageable when spread over several days, and the materials cost is negligible. Unless you have access to professional facilities, stick with traditional hand knocking methods.
Some players explore bat refurbishing techniques to restore older equipment, which involves similar principles but addresses different challenges like surface repair and moisture restoration.
Expected Results and Outcomes
Proper preparation delivers measurable improvements in bat performance and longevity. Understanding these outcomes helps you recognize successful preparation and motivates adherence to the process.
The most significant benefit is improved ball response. Proper knocking in improves the bat’s rebound speed by up to 20%, meaning identical shots generate more power with a prepared bat. You’ll notice the difference immediately when middle shots produce that satisfying crack and the ball travels noticeably further.
Surface hardening is the visible sign of successful preparation. A properly knocked bat develops a firm, slightly compressed face that shows uniform color and texture. No cracks, dents, or soft spots should appear after initial match use. The edges feel solid rather than fragile.
Expected Benefits:
- Enhanced stroke power from improved energy transfer
- Extended bat lifespan by reducing premature cracking
- Better feel and control during play
- Reduced vibration on off center hits
- Confidence to play aggressive shots without fear of damage
- Maintained performance across multiple seasons
Damage prevention is equally important. Prepared bats show 50% lower damage rates compared to unprepared equipment during the first season. This translates directly to cost savings, as you won’t need frequent replacements or repairs.
The first few net sessions after preparation reveal the results. Listen for the sharp crack on middle impacts and feel the solid connection through the handle. Watch the ball come off faster with less effort. These signs confirm your preparation work succeeded.
Gradual break in during matches completes the process. Even after thorough preparation, spend the first few innings playing controlled shots before unleashing full power. This final conditioning integrates all the preparation work into match readiness.
This performance improvement study provides detailed analysis of how preparation affects ball speed, energy transfer, and equipment durability across different willow grades and preparation methods.
Enhance Your Game with Quality Cricket Bats and Accessories
Proper preparation transforms any quality cricket bat into a reliable tool, but starting with superior equipment maximizes your investment. Shop quality cricket bats at CricketBats.com to explore our curated selection from trusted manufacturers like Gunn & Moore.

Matching your playing style with the right bat makes preparation even more effective. Our guide on choosing your cricket bat helps you understand willow grades, weight distribution, and handle types. Complement your prepared bat with proper cricket bat accessories explained in our comprehensive resource covering covers, grips, and protective gear.
Frequently Asked Questions
What is the best ball to use for knocking in?
Use an old leather cricket ball that has been used in matches but still maintains firm hardness. New balls are too hard and risk surface damage, while tennis balls are too soft to properly compress the willow fibers.
How long should the knocking-in process take?
Complete knocking in requires 6 to 10 hours total, spread over several days with sessions of 30 to 60 minutes each. Rushing the process by condensing it into one marathon session prevents proper willow conditioning and increases damage risk.
Can I skip oiling my new bat?
No, oiling is essential protection against moisture damage and cracking. Apply two thin coats of raw linseed oil with 24 hours drying between applications. Skipping this step leaves the willow vulnerable to environmental conditions that cause warping and splits.
Why shouldn’t I use a tennis ball for knocking in?
Tennis balls lack the density and weight needed to properly compress willow fibers. They create superficial surface hardness without deep conditioning, leaving internal fibers vulnerable to hard cricket ball impacts that cause cracks and damage.
How do I know when my bat is properly prepared?
A properly prepared bat produces a sharp crack sound on impact rather than dull thuds, feels firm across the face and edges, shows no cracks or soft spots after initial use, and delivers noticeably improved ball speed on middle shots. Test with gentle net sessions before match use.
Recommended
You’ve just bought a new cricket bat and can’t wait to take it to the nets, but within a few practice sessions, you notice dents and cracks forming across the face. This frustration is common among amateur players who skip proper bat preparation. Preparing your bat through systematic knocking in and protective treatments can dramatically improve performance and extend its lifespan, preventing premature damage that ruins expensive equipment.
Table of Contents
- Prerequisites And Materials Needed
- Step-By-Step Knocking-In Process
- Protective Treatments After Knocking-In
- Common Mistakes And How To Avoid Them
- Alternative Bat Preparation Methods And Their Tradeoffs
- Expected Results And Outcomes
- Enhance Your Game With Quality Cricket Bats And Accessories
- Frequently Asked Questions
Key Takeaways
| Point | Details |
|---|---|
| Knocking in improves performance | Proper knocking in improves rebound speed by up to 20% while reducing damage risk. |
| Essential materials needed | Use an old leather cricket ball, raw linseed oil, and a knocking mallet for best results. |
| Time commitment required | Complete preparation requires 6 to 10 hours spread over several days for optimal hardening. |
| Avoid common mistakes | Never use tennis balls or skip oiling, as these errors increase damage risk significantly. |
| Results are measurable | Properly prepared bats show surface hardening, no cracks after use, and improved stroke power. |
Prerequisites and Materials Needed
Before you start preparing your new bat, gathering the right materials and creating proper conditions is essential. You’ll need an old leather cricket ball for knocking in, as using an old cricket ball for knocking in is preferred as its hardness is optimal to toughen the bat without causing damage. A knocking mallet works well, but many players successfully use the old ball directly.
Raw linseed oil is critical for protecting the willow after knocking in. Apply it with a soft cloth or sponge to ensure even coverage. Choose a dry environment with moderate humidity for all preparation work. Excess moisture during the process can penetrate the willow and cause warping or premature deterioration.
The time commitment is substantial. Plan for 6 to 10 hours of knocking in spread over several days, plus 48 hours for oiling and drying. Rushing this process leads to poor results and potentially damaged equipment.
| Material | Purpose | Selection Tips |
|---|---|---|
| Old leather cricket ball | Primary knocking tool | Choose one with firm surface, not brand new |
| Raw linseed oil | Moisture protection | Must be raw, not boiled variety |
| Soft cloth or sponge | Oil application | Natural fibers work best |
| Knocking mallet | Alternative tapping tool | Optional if using ball directly |
Understanding bat making essentials helps you appreciate why proper preparation matters. The willow used in cricket bats is relatively soft when new and requires conditioning to reach optimal playing hardness. This comprehensive knocking-in guide provides additional context on the science behind the process.
Pro Tip: Ensure the knocking-in area is free from moisture to prevent damage during preparation. A garage or indoor space with consistent temperature works perfectly.
Step-by-Step Knocking-in Process
The knocking-in process systematically hardens the willow fibers to withstand ball impact. Follow these ordered steps carefully:
-
Start with gentle taps. Hold the bat handle firmly and use the old cricket ball to tap the face with light pressure. Focus on the middle section first, working outward toward the edges. Spend the first hour using minimal force.
-
Gradually increase intensity. Over the next few sessions, slowly build up striking force. Never jump to full power immediately. The willow needs time to compress and harden gradually without splintering.
-
Target all impact zones evenly. The face receives most attention, but edges and toe need preparation too. Spend about 60% of time on the face, 30% on edges, and 10% on the toe. Rotate the bat regularly to ensure uniform hardening.
-
Maintain consistent sessions. Break the total 6 to 10 hours into sessions of 30 to 60 minutes. This prevents fatigue and allows the willow to settle between sessions. Space sessions at least 12 hours apart.
-
Monitor for progress signs. You’ll notice the sound changing from dull thuds to sharper cracks as the willow hardens. The surface should feel firmer and show slight compression marks but no cracks or splits.
-
Test readiness carefully. After completing the full knocking process, face a few soft throw deliveries at the nets. If the bat feels solid without vibration or visible damage, it’s ready for gradual match use.
The relationship between proper preparation and performance is measurable. Proper knocking-in improves the bat’s rebound speed by up to 20%, directly translating to more powerful shots with the same effort. This knocking impact study demonstrates the mechanical advantages of properly prepared willow.
Understanding the bat making process reveals why knocking in matters. Fresh willow contains air pockets and loose fibers that compress under impact. Without preparation, match balls cause uneven compression leading to cracks. If damage does occur, our cricket bat repair guide provides solutions.
Pro Tip: Maintain a consistent knocking rhythm to ensure even hardening of the willow. Think of it like tenderizing meat, you want uniform treatment across the entire surface.
Protective Treatments After Knocking-in
Once knocking in is complete, protective treatment preserves your work and maintains willow integrity. Raw linseed oil is the standard treatment, creating a moisture barrier that prevents cracking while allowing the wood to breathe.
Apply the first coat of raw linseed oil using a soft cloth or sponge. Work the oil into the face, edges, and toe with circular motions. Use sparingly, a thin coat is better than drowning the wood. Avoid the splice area where handle meets blade, as oil can weaken the glue joint. Leave the bat standing upright for 24 hours in a dry space.
After the first coat dries completely, apply a second thin coat following the same method. Applying raw linseed oil twice, with 24 hours drying between, maintains moisture balance and prevents cracking. Allow another 24 hours of drying before use.
Treatment Do’s and Don’ts:
- Do use raw linseed oil specifically, not boiled or synthetic versions
- Do apply thin, even coats rather than thick layers
- Do allow full drying time between applications
- Do store the bat upright during drying
- Do keep the bat in moderate humidity after treatment
- Don’t apply oil to the splice or handle
- Don’t use the bat immediately after oiling
- Don’t over oil, which softens the playing surface
- Don’t store in damp or extremely dry conditions
- Don’t apply oil more than twice unless bat shows dryness
Regular maintenance extends your preparation work. Our bat maintenance checklist outlines ongoing care routines. This bat care and oiling guide offers detailed maintenance schedules.
Proper storage after treatment matters as much as the treatment itself. Keep your bat in a padded case in an environment between 10 and 25 degrees Celsius with moderate humidity. Extreme temperature swings or dampness undo your preparation efforts.
Common Mistakes and How to Avoid Them
Many amateur players unknowingly damage their bats through preparation mistakes. Recognizing and avoiding these errors saves money and frustration.
Skipping knocking in entirely is the most damaging error. Skipping knocking in increases damage risk by 50%, leading to face cracks within weeks. Some players assume pre knocked bats don’t need additional preparation, but even these benefit from a few hours of additional conditioning.
Using tennis balls for knocking in seems convenient but causes problems. Tennis balls are too light and bouncy to properly compress willow fibers. They create surface level hardness without deep conditioning, leaving the bat vulnerable to hard ball impacts. Always use an old leather cricket ball.
Applying excessive force too early is another frequent mistake. Aggressive early knocking splinters the surface and creates weak spots rather than strengthening the willow. Start gently and build intensity gradually over days.
Neglecting oil application leaves the willow exposed to moisture damage. Unprotected bats absorb humidity, swell, and crack as conditions change. Two proper oil applications create essential protection.
“Following proper preparation steps reduces cracking risks by 30% compared to unprepared bats, significantly extending equipment life and maintaining performance.”
Common Mistake Corrections:
- Mistake: Using the bat immediately after purchase. Fix: Complete the full 6 to 10 hour knocking process before match use.
- Mistake: Knocking in only the middle section. Fix: Treat edges and toe equally to prevent weak spots.
- Mistake: Oiling too heavily or too frequently. Fix: Use two thin coats 24 hours apart, then only reapply if the bat shows dryness.
- Mistake: Storing in damp sheds or hot car boots. Fix: Use a proper bat case in stable indoor conditions.
- Mistake: Facing fast bowling immediately after preparation. Fix: Gradually increase ball speed over several sessions.
Our bat maintenance checklist prevents these errors through systematic care routines. This knocking-in damage risk analysis quantifies the consequences of improper preparation.
Alternative Bat Preparation Methods and Their Tradeoffs
While manual knocking in is standard for amateur players, mechanical preparation machines offer alternatives worth considering. Professional bat retailers and some clubs own knocking machines that compress the willow using motorized rollers or automated striking mechanisms.
Mechanical machines complete the process in 2 to 3 hours compared to 6 to 10 hours manually. They provide consistent pressure across the entire face and eliminate the physical effort required. However, these machines are expensive, typically costing several hundred pounds, making them impractical for individual players.
Manual preparation offers better control over intensity and allows you to monitor the bat’s response continuously. You can adjust pressure based on willow hardness and stop immediately if problems appear. This tactile feedback is impossible with mechanical methods.
| Method | Time Required | Cost | Accessibility | Control Level | Damage Risk |
|---|---|---|---|---|---|
| Manual knocking | 6 to 10 hours | Minimal (just materials) | High (anyone can do it) | Excellent (full control) | Low with care |
| Mechanical machine | 2 to 3 hours | High (equipment cost) | Low (specialist access) | Moderate (preset programs) | Low with proper setup |
| Professional service | Varies | Moderate (service fee) | Moderate (shop dependent) | None (outsourced) | Very low |
For amateur players, manual preparation remains the practical choice. The time investment is manageable when spread over several days, and the materials cost is negligible. Unless you have access to professional facilities, stick with traditional hand knocking methods.
Some players explore bat refurbishing techniques to restore older equipment, which involves similar principles but addresses different challenges like surface repair and moisture restoration.
Expected Results and Outcomes
Proper preparation delivers measurable improvements in bat performance and longevity. Understanding these outcomes helps you recognize successful preparation and motivates adherence to the process.
The most significant benefit is improved ball response. Proper knocking in improves the bat’s rebound speed by up to 20%, meaning identical shots generate more power with a prepared bat. You’ll notice the difference immediately when middle shots produce that satisfying crack and the ball travels noticeably further.
Surface hardening is the visible sign of successful preparation. A properly knocked bat develops a firm, slightly compressed face that shows uniform color and texture. No cracks, dents, or soft spots should appear after initial match use. The edges feel solid rather than fragile.
Expected Benefits:
- Enhanced stroke power from improved energy transfer
- Extended bat lifespan by reducing premature cracking
- Better feel and control during play
- Reduced vibration on off center hits
- Confidence to play aggressive shots without fear of damage
- Maintained performance across multiple seasons
Damage prevention is equally important. Prepared bats show 50% lower damage rates compared to unprepared equipment during the first season. This translates directly to cost savings, as you won’t need frequent replacements or repairs.
The first few net sessions after preparation reveal the results. Listen for the sharp crack on middle impacts and feel the solid connection through the handle. Watch the ball come off faster with less effort. These signs confirm your preparation work succeeded.
Gradual break in during matches completes the process. Even after thorough preparation, spend the first few innings playing controlled shots before unleashing full power. This final conditioning integrates all the preparation work into match readiness.
This performance improvement study provides detailed analysis of how preparation affects ball speed, energy transfer, and equipment durability across different willow grades and preparation methods.
Enhance Your Game with Quality Cricket Bats and Accessories
Proper preparation transforms any quality cricket bat into a reliable tool, but starting with superior equipment maximizes your investment. Shop quality cricket bats at CricketBats.com to explore our curated selection from trusted manufacturers like Gunn & Moore.
Matching your playing style with the right bat makes preparation even more effective. Our guide on choosing your cricket bat helps you understand willow grades, weight distribution, and handle types. Complement your prepared bat with proper cricket bat accessories explained in our comprehensive resource covering covers, grips, and protective gear.
Frequently Asked Questions
What is the best ball to use for knocking in?
Use an old leather cricket ball that has been used in matches but still maintains firm hardness. New balls are too hard and risk surface damage, while tennis balls are too soft to properly compress the willow fibers.
How long should the knocking-in process take?
Complete knocking in requires 6 to 10 hours total, spread over several days with sessions of 30 to 60 minutes each. Rushing the process by condensing it into one marathon session prevents proper willow conditioning and increases damage risk.
Can I skip oiling my new bat?
No, oiling is essential protection against moisture damage and cracking. Apply two thin coats of raw linseed oil with 24 hours drying between applications. Skipping this step leaves the willow vulnerable to environmental conditions that cause warping and splits.
Why shouldn’t I use a tennis ball for knocking in?
Tennis balls lack the density and weight needed to properly compress willow fibers. They create superficial surface hardness without deep conditioning, leaving internal fibers vulnerable to hard cricket ball impacts that cause cracks and damage.
How do I know when my bat is properly prepared?
A properly prepared bat produces a sharp crack sound on impact rather than dull thuds, feels firm across the face and edges, shows no cracks or soft spots after initial use, and delivers noticeably improved ball speed on middle shots. Test with gentle net sessions before match use.